A guide
How a tiling job actually runs.
Eight stages, in the order they happen, with what is going on at each one and what — if anything — is needed from you. Almost everything that goes wrong with tiling goes wrong in the stages nobody sees, so those get the most space here.
STAGE 01
The visit and the price
We come and look at the room, because that is where the price comes from. How flat the walls are decides how much of the first day goes on preparation rather than tiling. The floor build-up decides whether the door still clears once the tile is down. Whether there is a fall to form, a tray going in, or a substrate that moves under a foot — all of that changes the job and none of it is visible in a photograph.
You then get a price for the whole job, with the tile schedule and the wastage allowance written down rather than guessed at. Every detail gets discussed before anything starts, so you know exactly what to expect and exactly what it is going to cost. If something can genuinely only be priced once the old floor comes up, we say so at the start rather than discovering it in the middle.
Your bit A rough idea of the look you are after and whether the tile is already chosen. Photographs of tiling you like help far more than adjectives do.
STAGE 02
Specification and ordering
The tile decides the bond, the bond decides the wastage, and the substrate decides the adhesive. A large-format porcelain slab, a stone mosaic and a hand-glazed ceramic want three different fixing systems and three different grouts, and using the wrong one is the kind of mistake that surfaces two winters later.
Order with enough lead time and get it delivered before day one — a job stalled waiting on a back-ordered box is the most avoidable delay in the trade. Check that every box carries the same batch number while the delivery driver is still on the drive, because tiles are fired in batches and the shade varies between them.
Your bit Tile, trims, adhesive and grout on site and checked for batch numbers. Somewhere dry and flat to stack it, and parking if the road is tight.
STAGE 03
Substrate preparation
This is the unglamorous half of the job and the half that decides how the room looks in ten years. Walls get made flat and true, because a large tile cannot follow a bowed wall — it bridges the hollow and then lippage appears at every joint along the run. Floors get checked for deflection and levelled, because a base that moves cracks grout in a straight line and no amount of re-grouting cures it.
Backgrounds also have to suit the material. Mosaic sheets are flexible and take on the shape of whatever is behind them, so the wall has to be better than the tile. Stone needs a primer that will not stain through. Anywhere that will be permanently wet gets built up to a different standard entirely.
Your bit Nothing but patience — this is the stage where it looks like nothing is happening and the most is.
STAGE 04
Tanking and forming the falls
In a wet room or a shower enclosure the waterproofing goes on before the tile, not instead of it. A membrane is taken across the whole wet zone and up every corner and junction, so that if water ever gets past a grout line it meets a barrier rather than plasterboard. Grout is water-resistant, not waterproof, and treating it as the last line of defence is how ceilings get ruined.
Then the fall. The floor has to slope enough for water to reach the waste and has to do it while the tile pattern still reads as straight and level — which is the part that takes the practice. Trays and formers make it simpler; a traditionally screeded fall in a big room takes longer and gives you complete freedom over the tile.
Your bit Decide early if a wet room is what you want. It changes the floor build-up, the drainage and the door, and all three are easier before than after.
STAGE 05
Setting out
Before any adhesive is mixed, the room is set out dry. Centre lines are found, the bond confirmed, the cuts balanced so you do not end up with a full tile one side of the window and a five-millimetre sliver on the other, and the niches and edge details are placed so the courses line through around them.
This is also where the awkward decisions get made and agreed with you: which wall the pattern centres on, whether courses line through across a return, which external corners get mitred and which honestly deserve a trim, where the movement joints go. Ten minutes here is the difference between a room that looks right and one that looks slightly wrong in a way nobody can name.
Your bit Be around for five minutes if you possibly can. It is the one stage where your opinion changes the finished room.
STAGE 06
Fixing
Tiles go up and down out of several boxes at once, so that any shade variation between batches spreads evenly across the wall instead of arriving as a visible band. Large formats get a levelling system so no edge stands proud of its neighbour. Mosaic sheets get set square and evenly spaced before the adhesive grabs, because a sheet joint cannot be rescued with grout afterwards.
External corners get mitred where the detail deserves it — both tiles cut back to forty-five degrees so the glazed faces meet with nothing between them. It is slower and far less forgiving than screwing a trim on, and it is the single detail that most reliably separates a tiled room from a well-tiled one.
Your bit Stay off a newly tiled floor. Adhesive that has not gone off does not forgive a footprint.
STAGE 07
Grouting, silicone and edges
Adhesive is left to cure properly first — not hurried — then grouted in a colour chosen with you, because grout colour is half the pattern. A matching grout makes the bond disappear; a contrasting one turns the same tiles into a drawn grid. The haze comes off with a damp cloth and a proper haze remover rather than anything abrasive.
Internal corners and the joints where tile meets bath, tray or worktop are siliconed rather than grouted, because those joints move and grout cracks when it is asked to move. Movement joints go where they were planned at set-out, not wherever there happens to be room for them.
Your bit Give the silicone the time it asks for before the first proper soak. It is the difference between a joint that lasts years and one that fails in months.
STAGE 08
Sealing and hand-over
Natural stone, marble and unglazed tile get sealed; porcelain and glazed ceramic do not need it. The floor is cleaned down, the offcuts and the empty boxes go with us, and any spare full tiles are left somewhere sensible, because in five years a spare from the original batch is worth a great deal more than a close match.
Then you get shown round it: what has been siliconed and why, how long to leave it before the first use, what to clean it with and — more importantly — what to keep well away from it. The tile care guide on this site covers the same ground in writing, material by material.
Your bit Keep the spare tiles. Same batch, same shade, and one day one of them will save a floor.
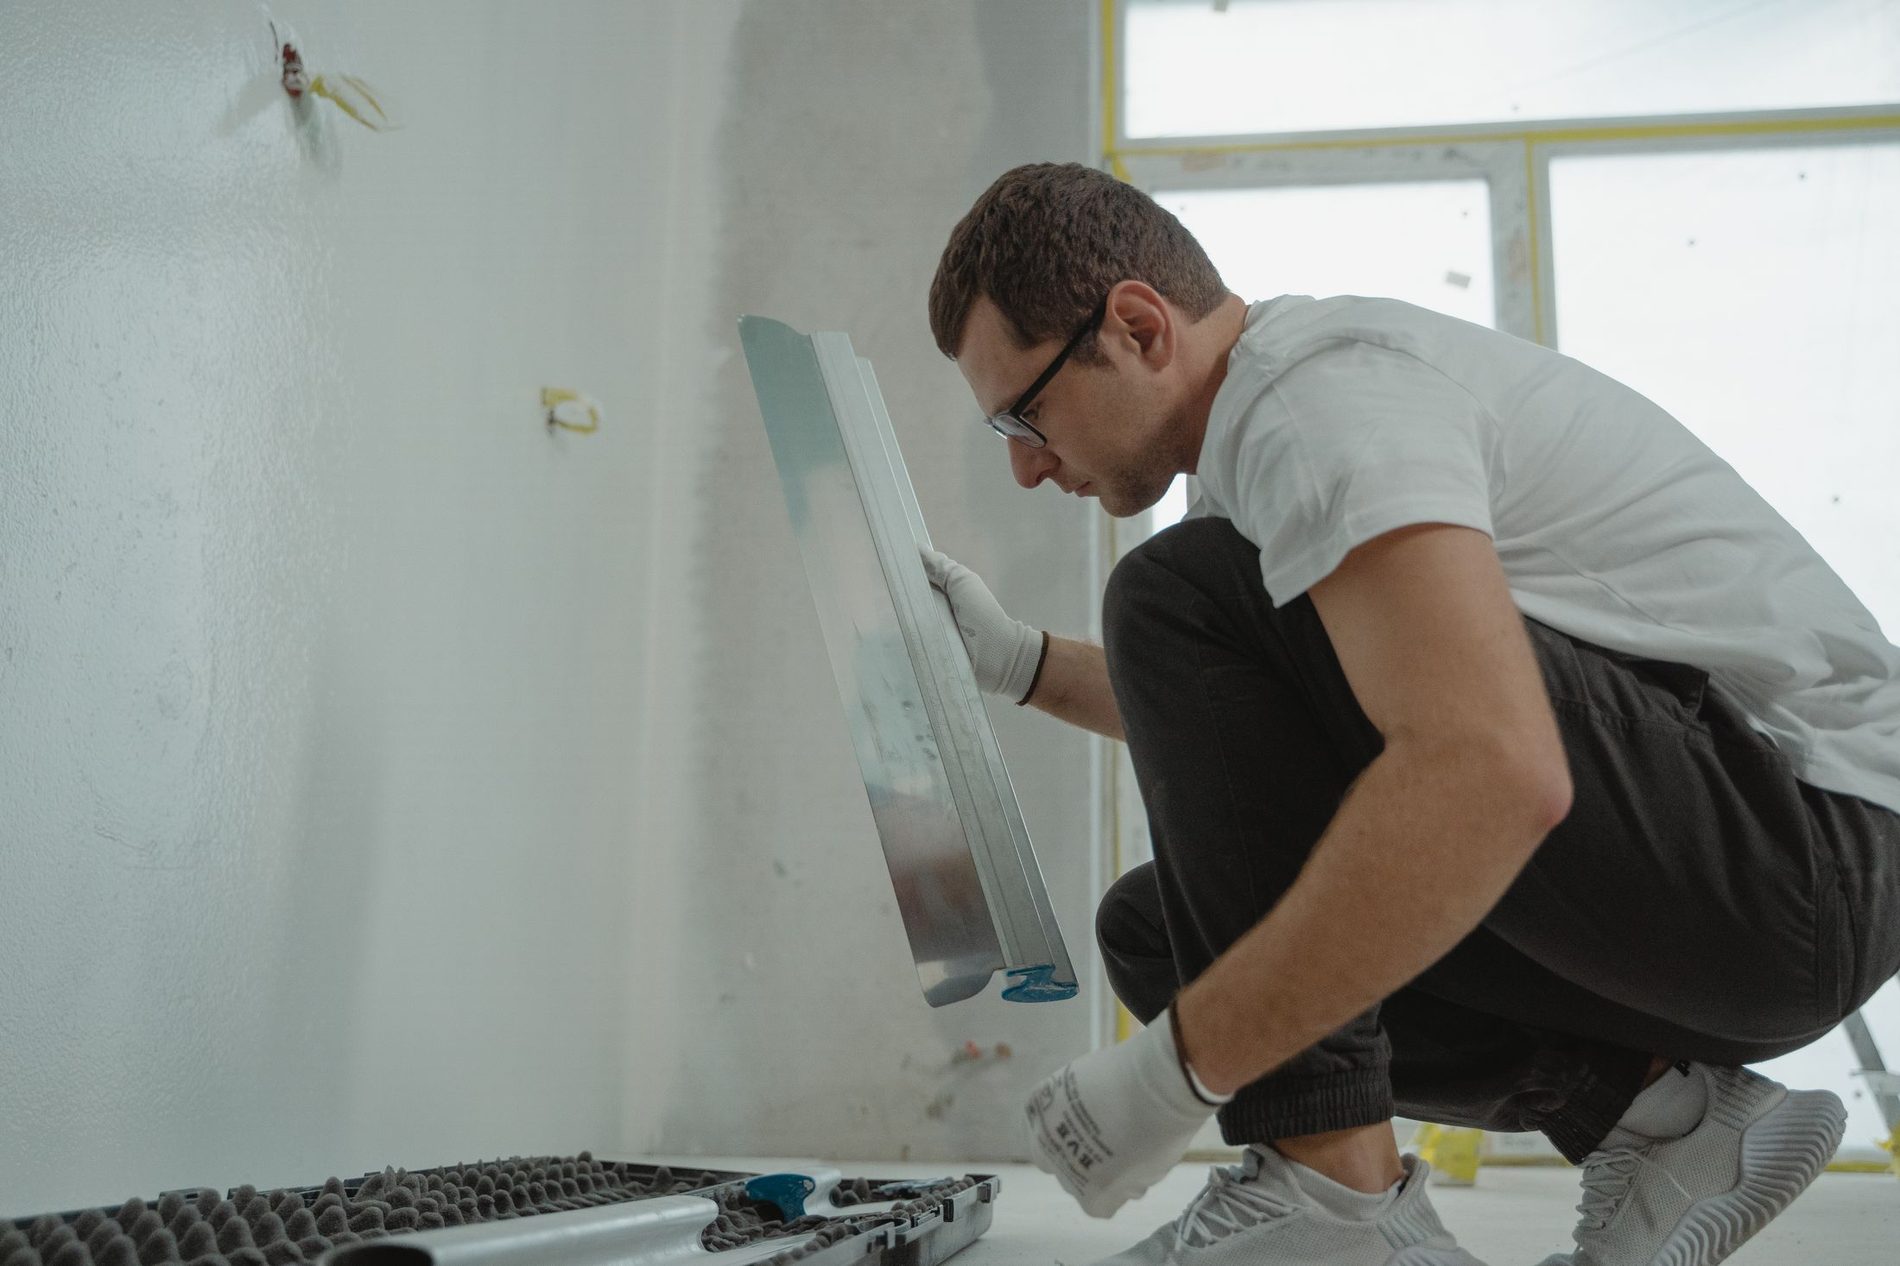
Short version
The four stages, boiled down.
- 01
Look at the room, price the job
We come and see it. Substrate, floor build-up, how far out of square the walls are, whether there is a fall to form or a tray going in. Then a price for the whole job, with the tile schedule and the wastage allowance written down rather than guessed at.
- 02
Substrate, falls and tanking
Walls made flat, floors levelled, wet areas tanked and falls formed towards the drain before any tile appears. This is the half of the job nobody sees and the half that decides whether the room still looks right in ten years.
- 03
Set out dry, agreed with you
Centre lines found, bond confirmed, cuts balanced, niches and edge details settled. Five minutes of your time here changes the finished room more than any other decision on the job.
- 04
Fix, grout and finish the edges
Tiles fixed out of several boxes at once so shade variation spreads evenly, large formats levelled, grout chosen to suit the material, movement joints and internal corners siliconed rather than grouted — and external edges mitred where a trim would cheapen the finish.
Two small things
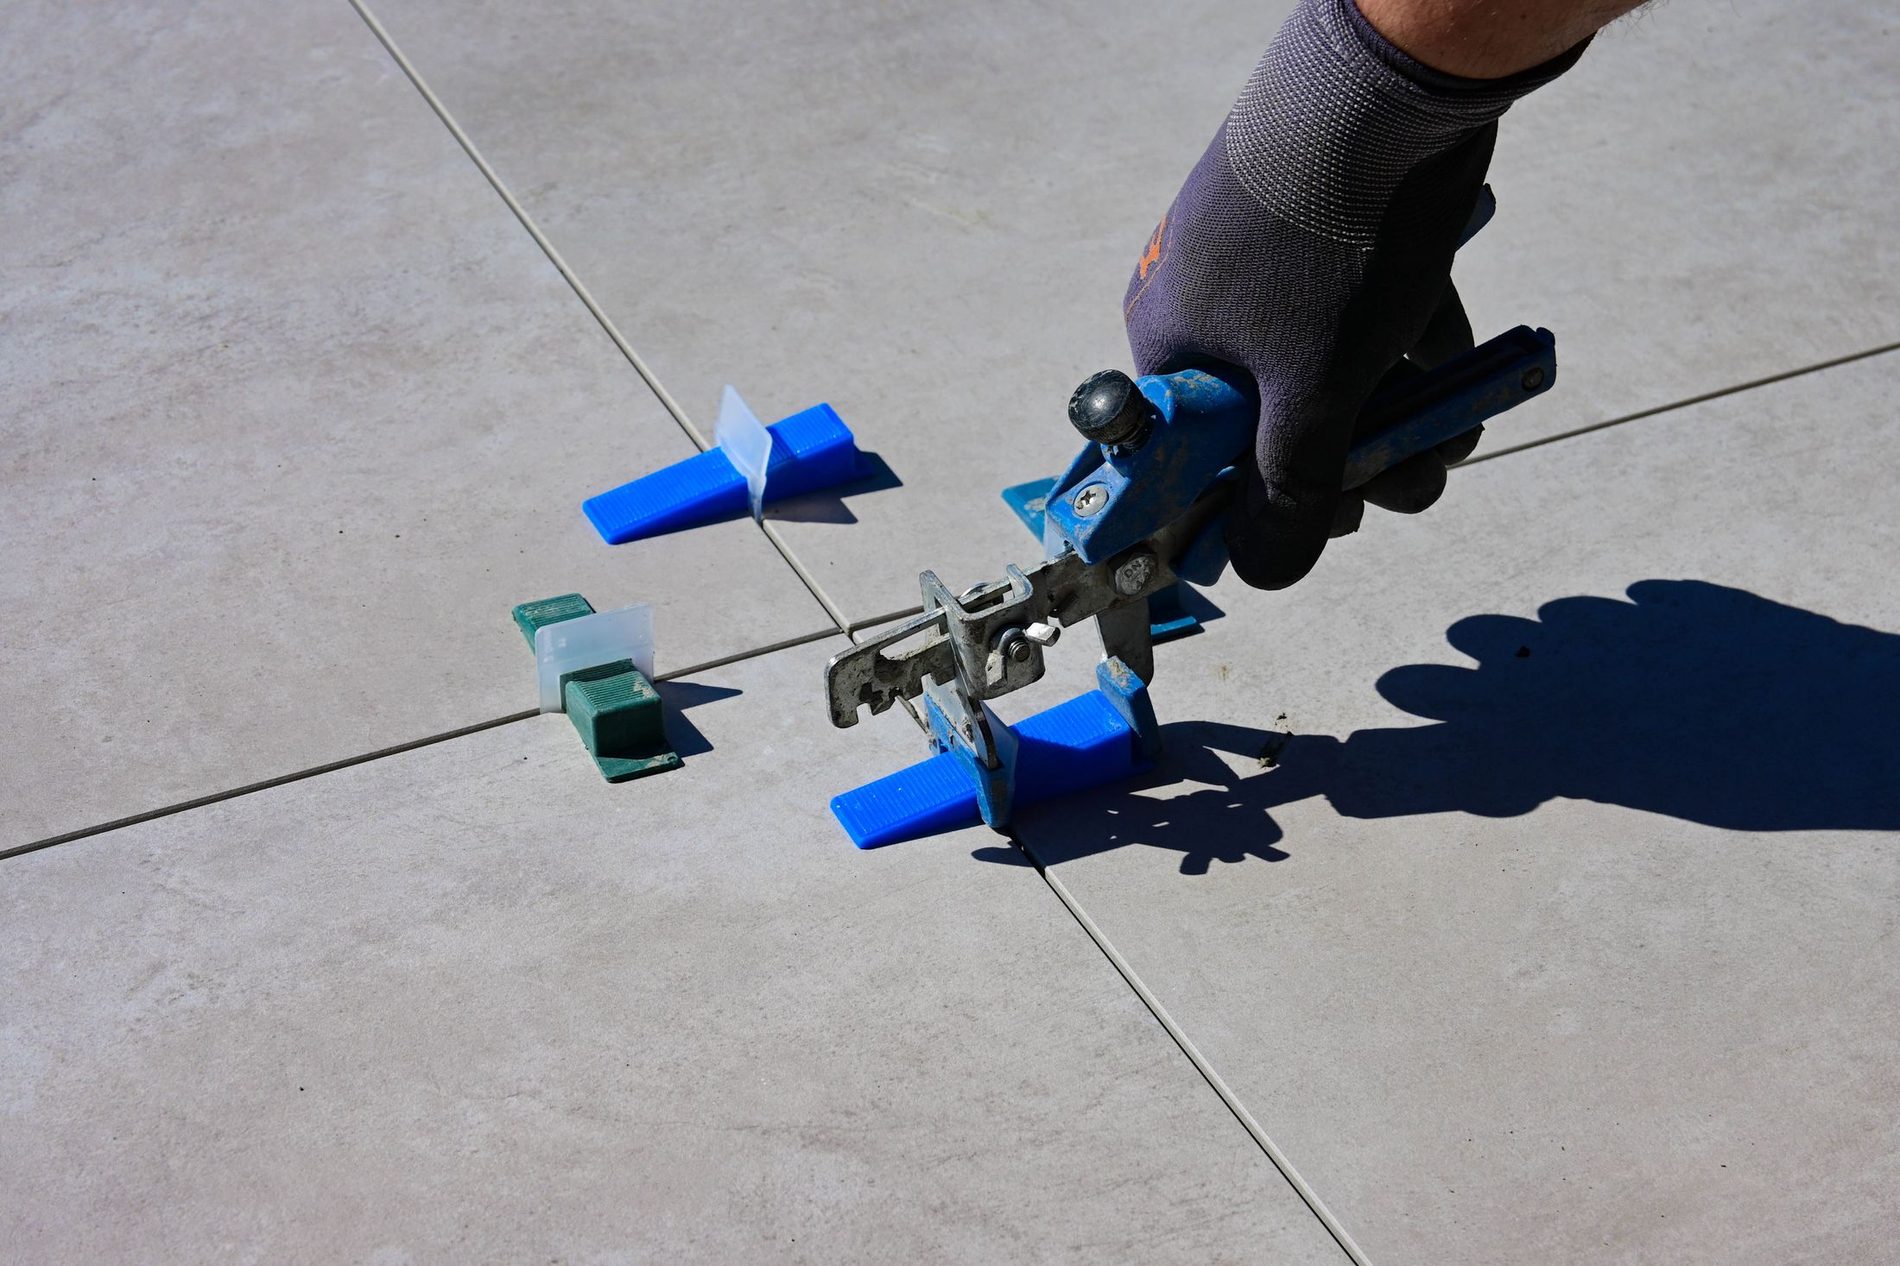
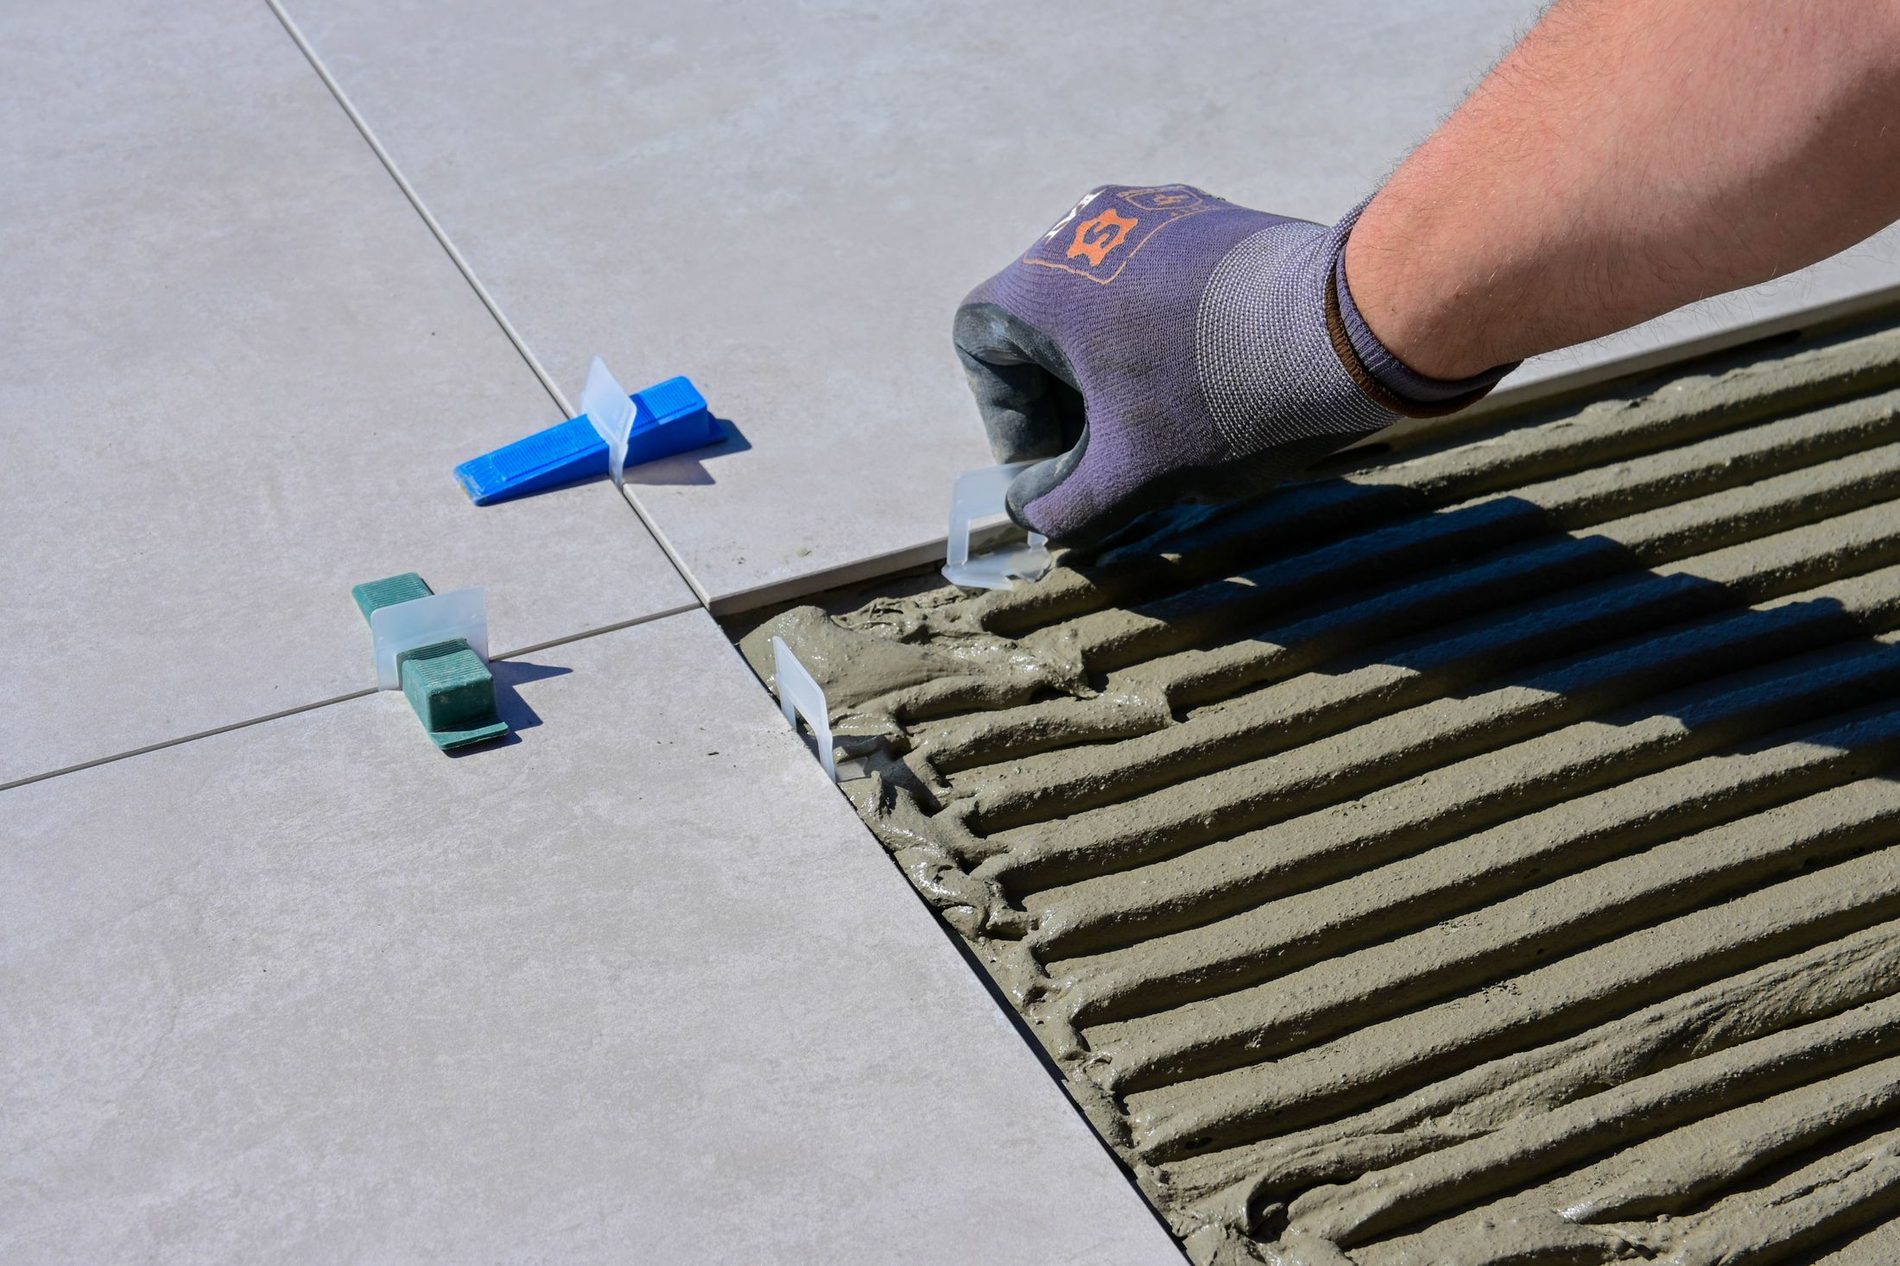
Levelling clips and full adhesive coverage.
Neither of these is visible once the job is finished, and both of them are why it stays finished. Levelling clips hold adjacent tiles in the same plane while the adhesive goes off, which is the only reliable way to keep a large format free of lippage. Full adhesive coverage — combed the right way, back-buttered where the material asks for it — is what stops a tile ringing hollow and cracking the first time something heavy lands on it.
Want that walked through for your room?
Every job has one awkward stage — the floor that moves, the wall that is forty millimetres out, the fall that has to look level. Ring and we will tell you which one yours is.
We're on the tools most of the day — a text or a voicemail is never ignored, and photographs of the room get you a useful answer fastest.